Last updated on May 5th, 2022
Our site is reader supported, this means we may earn a small commission from Amazon and other affiliates when you buy through links on our site.
One of the best ways to grow Hollyhocks is to use the seeds that a successful plant already provides you with or buy some quality seeds from a seed specialist.
If you have successfully grown Hollyhocks in your garden, you know that they require very little maintenance except for spraying them to protect them from Hollyhock rust and that, if left to their own devices, they will live for about 2 or 3 years and then reseed quite effectively.
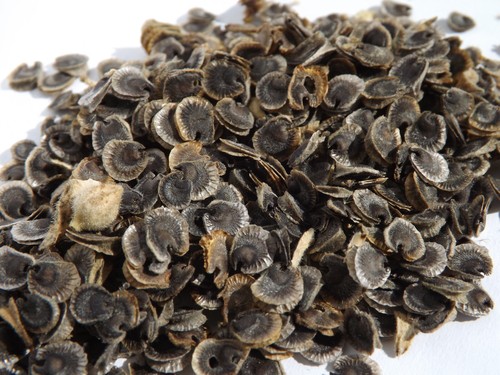
Preparing to propagate from seed
To learn more about when and how to collect seeds, as well as what to do with your Hollyhocks after flowering read my guide here. If you have already got your seeds to hand – carry on reading this guide.
Before you start, fill a tray with compost and then water that tray well just to make sure all the compost is thoroughly moist. You might even get in there with your hands to mix it up. If you water after sowing, you might accidentally wash the seeds around the tray and then they stick together making them difficult to prick out later on. If you do forget to water beforehand use a fine rose watering can and water carefully.
Propagation
Step 1
When you sow the Hollyhock seeds you want to do it individually, placing each seed at least 4cm apart along the surface of the compost. As you’re doing this try to make a grid pattern, even better consider buying seed trays with separate modules, this makes potting them up later a much easier process and means you can avoid disturbing the fragile roots.
Don’t push the seeds into the compost because you won’t be able to see where they are. We highly recommend laying them on the surface and putting a very thin layer of compost over the seeds later.
Start on the left-hand side, at the top, and then move across to the right and repeat this process until the tray is completely full. Then lightly cover with compost so that the seeds receive enough access to light. We recommend using a compost sieve to get a fine even layer or using an empty plastic pot and sieving the compost through the holes in the bottom of the pot.
Step 3
When you give them the proper spacing the seeds will germinate within around 2 weeks as long as you leave them in an area that’s warm, such as a windowsill or in a greenhouse with heat.
You can cover them with a piece of clear polythene if you don’t have a propagator as long as you leave it open and this will help keep them warm and stop the soil from drying out. If you choose this method, check the trays every morning and every evening for germination after about two weeks. When they have germinated and sprouted, remove the plastic to grow them on further in the seed trays.
Step 4
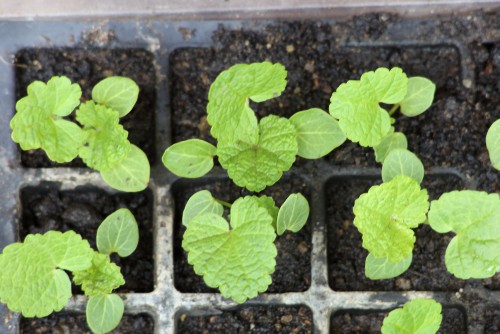
When growing from seed, Hollyhocks take between 10 days and 14 days to germinate but they require another 4 or 5 weeks before they’re ready to be pricked out into their own pots, we recommend potting them into 9cm pots to grow them on further. If you notice that the roots are starting to show through the base of your tray, it’s time to move them.
To learn more about how to carefully prick out seedlings see my guide here
When you’re ready to move them, handle them by the leaves and not the stems (as you should with most seedlings) because they can be easily damaged. It might be best for you to try and tease out the roots and the seedling from the soil with a dibber or a pencil if you don’t have one.
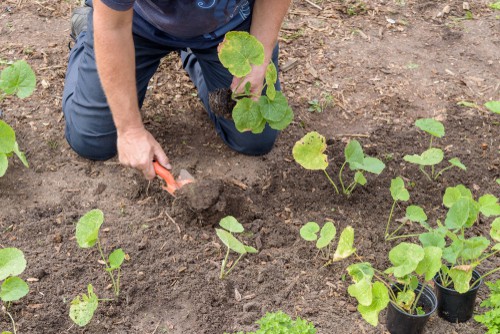
At this point, place each seedling in its own 9cm container with good quality potting compost, pat it down, and water it. It’s best to place them in an area where they get a lot of sunlight. If you have sown the seeds early enough, then by June they should be ready to be planted outside in your garden.
Last update on 2025-07-15 / Affiliate links / Images from Amazon Product Advertising API


