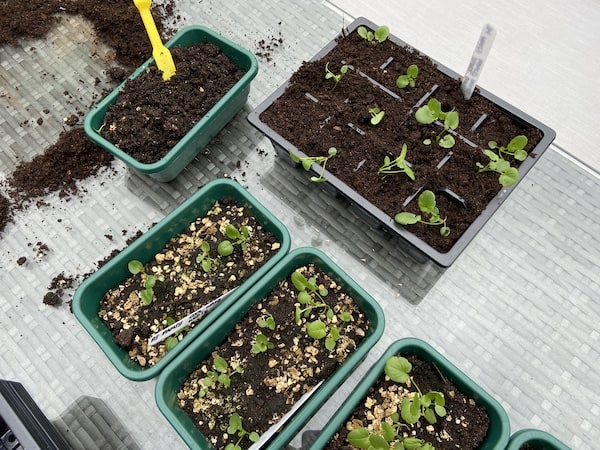
One of the most enjoyable parts of growing your plants from seeds is when they germinate and begin to grow into seedlings. One question I often get asked by those just getting into gardening is when and how you should prick out seedlings.
If you prick them out too early they may not take, however, if you leave them too late they may start yellowing, they become more prone to rotting off and the roots can also get intertangled making it difficult to separate them.
By pricking them out you can introduce them to new compost, something with a little more feed value as seed compost usually has no fertiliser incorporated into it. I like to use a good quality multi-purpose compost or a specialist potting on compost.
When to prick out seedlings
The best time to prick out seedlings is when they get their first set of true leaves, these are the leaves that actually resemble the main plant. They also need to be large enough so you can carefully handle them.
What you need
- Small pots or plug trays to prick the seedlings into.
- A quality multi-purpose or potting compost.
- A dibber to levage the seedling out and make the holes, but if you don’t have one of these to hand you can also use a pencil or something similar.
- Some plant labels.
- Watering can with a fine rose.
How to prick out seedlings
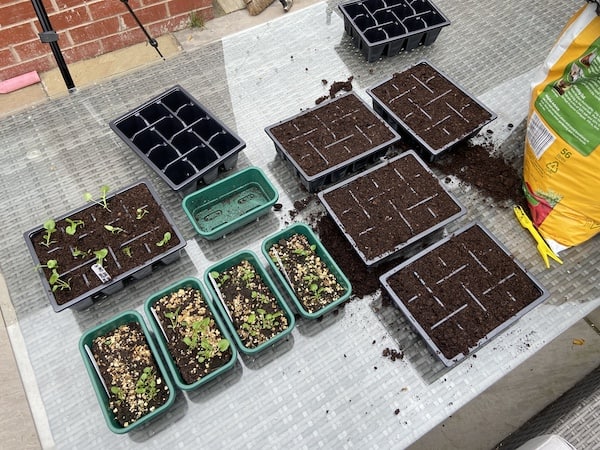
The first thing you need to do is to make sure you have everything ready and to hand. I like to either prick my seedlings out directly into bedding trays or into plug trays. This makes it much easier to pot them on again at a later date into larger pots or their final growing positions such as in hanging baskets, planters or even in the ground.
This also means that they will form a good root system that is compact rather than having to disturb the roots again if you prick them out into another seed tray. This is the main reason why I don’t do this.
The only reason I don’t sow the seeds directly into plug trays is that they are harder to fit into my propagator, so I sow them into the seed trays first as these fit the propagator perfectly to make the most use of the space.
Step 1
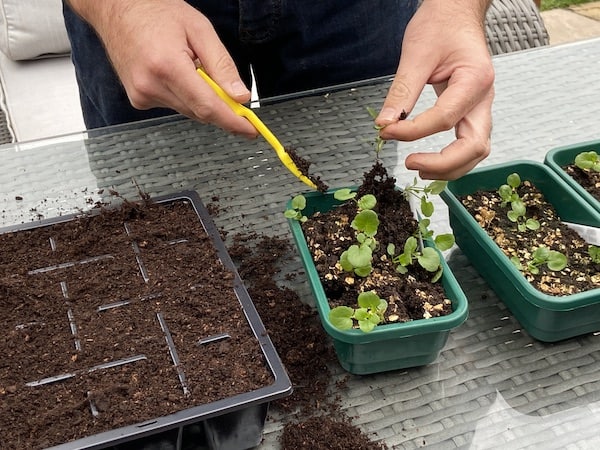
Firstly, you need to use your dibber (or similar item such as a pencil) to carefully lift the seedling from the seed tray, being very careful not to damage the roots or the stems. Always hold the plants by their leaves and never the stem. The leaves are replaceable and will grow back if they are damaged so this is not a major concern, the stems however will not.
Step 2
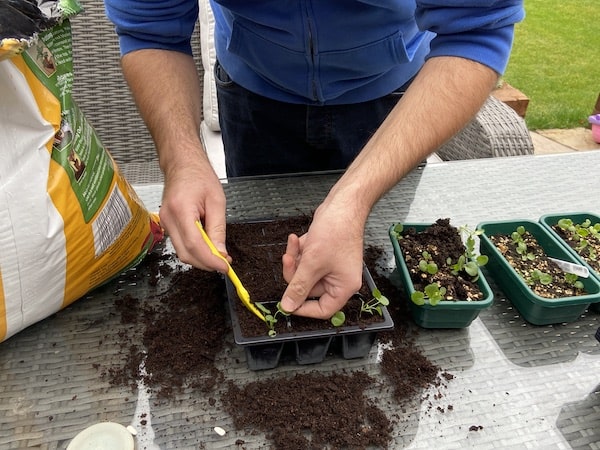
Make a small hole with your dibber into the pot or plug tray that you have filled with your chosen compost.
Carefully place the seedling into the hole you have previously made and make sure that the first set of leaves are just above the compost so that the plant is held firmly in place.
Step 3
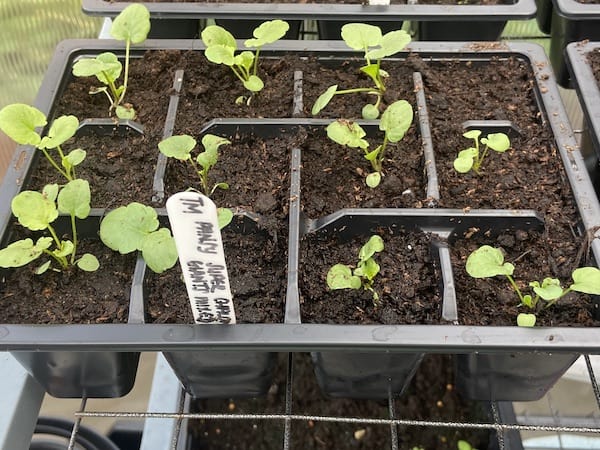
Once you have pricked out all of your seedlings give them a good watering, label the plants so you know what they are (we highly recommend this if you are growing different varieties of plants at the same time) and depending on what plants you have grown and how tender they are, place them in a greenhouse, cold frame or on a sunny windowsill.
You can check out my recommended small greenhouses in this guide that are great for growing on newly potted seedlings and this guide here on my top cold frames as well as my recommended propagators.
You can also check out my guide here on how to insulate a greenhouse to better overwinter seedlings here.
If you collect seeds one of the best ways to store them is in a vacuum-sealed bag in the freezer, you can check out my recommended vacuum sealers here