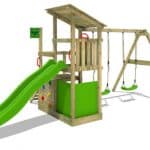
Much like woodworking, gardening is one of those hobbies that is a lot of fun and keeps you active, but it can also be pretty tough. In this article, we share three ways you can build your very own cost-effective raised beds, perfect for growing your own vegetables, and it’s easier than you think.
And while the fact that gardening can be tough in a challenging sense, is the appeal for some people, there are also some difficulties that no one really wants to have to deal with.
All of that bending over and crouching down puts an awful lot of strain on your back, your knees, your shoulders, pretty much your entire body could be aching after too much gardening.
Weeds are also an irritation. Something that happens in every garden and that is just another hassle that you have to make unnecessary effort to get a handle of.
And then there’s the issue of doing all of this hard work to try and develop a nice garden only for things to grow very slowly or not grow at all.
So there’s a list of problems that might seem unrelated to you. But the one thing that they all have in common is the fact that they can all be solved or at least minimised by having raised garden beds.
No more bending, the productivity of the plants increases because of the quality soil and compost you use and the likelihood of weeds in these beds goes way down. Just make sure you use sterilised topsoil to keep it that way or weeds may begin to make an appearance.
And on top of all those benefits, although you can buy them, they are actually surprisingly easy to build yourself.
Here are three different methods that you could try out.
1.
This method is very simple and as you can imagine it will give also give you a very simple result.
Source: https://www.topline.ie/blog/how-to-guides/how-to-make-a-raised-garden-bed
That’s not necessarily a bad thing, it will still perform the exact function that you want out of a raised garden bed.
It will give you the benefit of less strain while you’re working and you won’t need to worry about weeds or slow-growing plants.
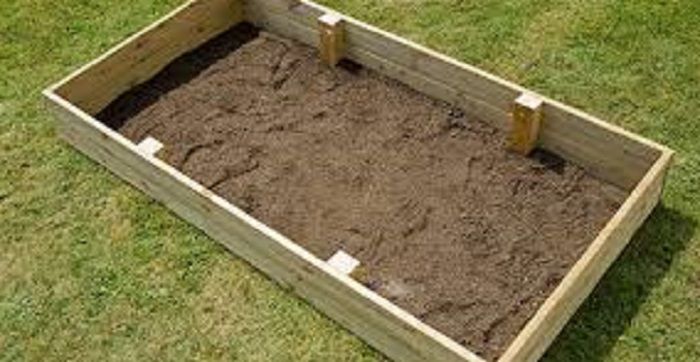
You won’t need a whole lot of material for any of these beds we’re talking about, and this one is the least of all. You just need some wooden boards and some wooden stakes too. Four boards, 8ft each, and then another four that are 4ft each.
Then you’ll need the four stakes to be long enough to penetrate the ground by at least a foot. Stakes cut to 2.5ft should do the trick.
Before you actually get started, make sure that you wear protective gear for this. We advise if you aren’t wearing all of them, at the very least, you should be wearing gloves and eye protection.
It’s as simple then as making two rectangular frames, using all of your boards. Each one should be 8ft by 4ft and you can just screw the boards together to achieve that. Place the lower frame wherever in your garden you want to have the bed and then the upper frame on top of it.
Dig the area inside the frame and then fill it with loose sterilised soil that you can get from most garden centres. Then place the four stakes in, roughly 2.5ft from each end on each side and then screw the boards into them.
Make sure the stakes are deep enough to secure the bed and then trim the tops off them with a handsaw or chainsaw if you have one.
With that, you’re pretty much done. As we said, it’s a simple enough frame. It’s not that high and probably not as stable as the others, but it’s very easy to make and will do the trick.
You can have a look at the full tutorial here on topline.ie.
2.
This method is a bit similar but it’s also somewhat more complicated and will result in a more stable result.
Source: https://www.almanac.com/content/how-build-raised-garden-bed
Decide on where in your garden you want this bed to be and then before actually building the bed itself, loosen up the soil with a garden fork.
You should try and go no less than 6 inches deep with it and make sure that you take away about a spade’s depth of the top layer of soil.
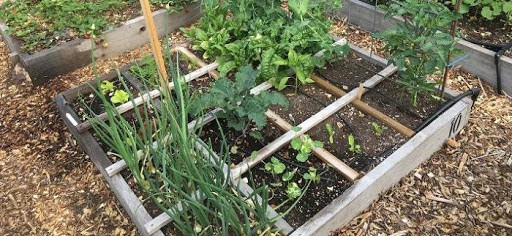
Again, 4ft by 8ft is the length that we’ll be looking at here and so the boards themselves should be pretty straightforward. Generally, you can buy timber that comes in boards of this length, however, you can also cut the boards yourself if you have longer ones already.
A good cabinet table saw would be the perfect tool to get the length of the boards correct. You’ll also need stakes for this one, and it’s advised this time that you place them inside each corner.
Drive them so that they’re 2ft into the ground and however high you want your beds to be above the ground. Build the boards around these stakes, using galvanised screws to fix them into the stakes.
And while you’ll have them at 4ft by 8ft you can go as high as you want with as many boards as you want.
This method also gives a recipe for soil that you can use in your raised bed. Check out the full tutorial on almanac.com.
3.
This is a very interesting way to do it that’s a bit different and uses rebar instead of wooden stakes for maximum support.
This one is extremely cheap, both the wood and rebar shouldn’t amount to much more than £100 in total which is awesome.
And the process is extremely simple. It’s probably on par for simplicity with the first tutorial we talked about but it’s also a better bed overall.
And even if the type of wood starts to wear down over time, you can replace them very easily because this method doesn’t involve too much screwing together.
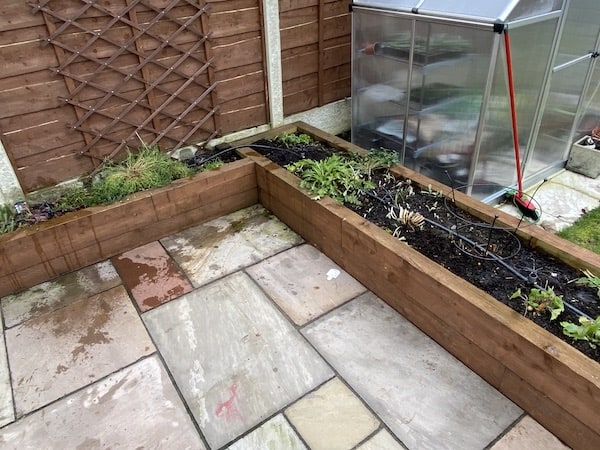
You’ll just need four boards for this one. Two that are 8ft in length and another two of 4ft. So it will be the same length and width as the others but with 2 x12 size boards, the bed is higher.
All you need to do is put these boards in a rectangular position, and then embed two pieces of rebar for each of the longer boards and one for each of the shorter boards.
Once you’ve hammered these bars a few inches deep you can add several more bars for even more support.
Line the bottom of the bed with newspaper and then fill it up with soil. With that, you’re good to start planting.
If you want more information on this particular tutorial, go to goodhousekeeping.com for a full rundown of the process.
Conclusion
Making a raised bed for your garden will make a huge difference in the process of gardening for you and will make things quite a bit easier.
And as you can see, building one is simple and can even be done by someone who’s new to woodworking.