Fuchsias are fantastic plants, found in an array of bell-shaped combinations of colour, bringing pink on purple on pink, red and pink, and more. It’s no wonder that anyone who has enjoyed success with Fuchsias would no doubt love to enjoy it a bit more by growing more plants from the successful parent. To do that, you can take Fuchsia cuttings. But don’t worry, it is not as challenging as it seems. The key is to take cuttings at the time of year when they will root the fastest so that you can transplant them quickly and enjoy more and more blooms.
When to Take Fuchsia Cuttings
The two best months for taking Fuchsia cuttings are April and May, and as soon as they have taken root and get transplanted, you are in for a rife of colour for the coming months. If you prefer to leave your cuttings in longer, you can wait any time between April and August to get new and improved cuttings.
Tips:
- The day before you plan to take your cuttings, water your plant thoroughly. This will allow it time to absorb the water it will need to flourish.
- The day of, take your cutting either early in the morning or later in the day. If you cut them in the middle of the day when the sun and temperatures are at the brightest and hottest points, it will mean a dehydrated cutting, and a dehydrated cutting means stunted growth and a poor success rate.
- Before cutting, sterilise the tools you are working with using a mixture of 9 parts water to 1 part bleach. Do this between cuts from different plants too, so that you avoid accidentally transferring any diseases from one plant to the next.
- When you make the cut, do so at a 45-degree angle so that water gets directed away from the bud as it falls over the cutting.
- Verify the plant is healthy and take only the healthiest of cuttings.
- Before you take your new cuttings outside, give them a chance to harden off, and expose them to the outside elements gradually. You want them to get accustomed to the new environment incrementally.
How to Take Cuttings
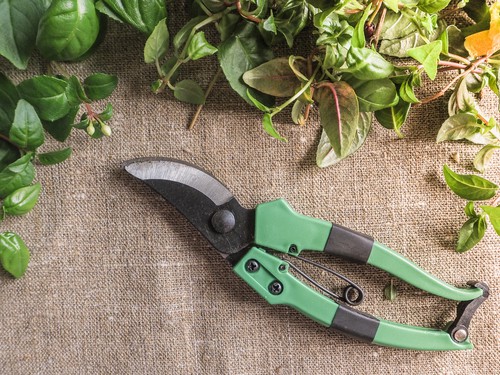
When you are ready and you have your cutting, you want to remove the stem above the third pair of leaves. The total cutting should be about 15-20cm in length. If you have a cutting that is too long it will end up rotting. You should always cut just below a leaf joint with the sharpest pair of pruning secateurs or a sharp knife.
A sharp, sterilised instrument will make a clean and simple cut which will go a long way toward alleviating unnecessary cuts on the parent plant leaving it susceptible to disease. Concurrently it leaves the cutting to face trials when establishing its root structure.
How to Propagate Your Cutting
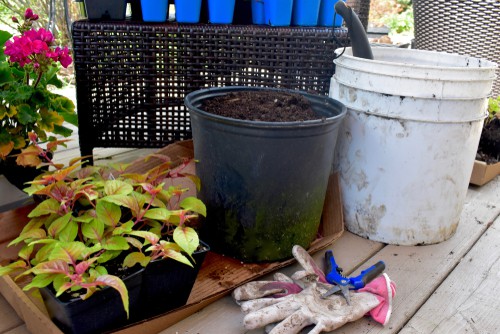
Once you have your cuttings, you should place them then in the pots you have selected immediately. There are many containers that can be used for such purposes. Those who plan to habitually propagate from cuttings typically invest in heated propagators that provide heat from the bottom up with lids that close over the containers, and these lids have manual ventilation controls. These, like any other items used to propagate, should be left away from direct sunlight. The idea of heated propagators is to provide a little heat which helps them root faster.
Alternatively, you can set up your individual cuttings in pots or containers full of soil, and then cover them with plastic bags or plastic cups upended as lids. The idea, no matter which method is used, is to create a greenhouse over the cuttings without allowing the lid to touch the cuttings.
In approximately 2 weeks you should see your plants forming a proper root structure, although in some cases it can take 4 weeks or longer. You will know when the roots are in place because the cuttings will change colour and be a darker green and you will notice new growth. However, if you notice any flower buds these should be removed to allow the cutting to fully establish itself. At this point, you can remove them and gently introduce them to the outside environment a little bit each day until you are ready to transplant them into larger pots.
After a few more weeks, you can remove the side shoot tips to encourage more leaf joints and, tangentially, a higher number of blooms.
In the end, following these steps will help you to take better cuttings and propagate from said cuttings with spectacular success.