After recently planting up this strawberry planter and my alpine rockery planter, I decided it was time to plant up my two new window troughs with summer basket plants. As I was doing this, I decided to put together this guide on how to plant wall troughs to help anyone do the same.
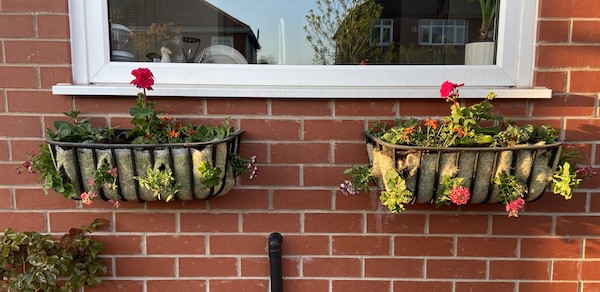
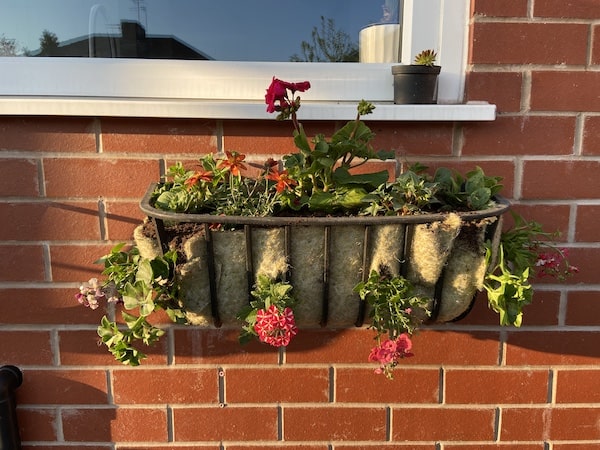
To give you an idea, the picture below is two of my newly planted wall troughs straight after planting. They do look a little sparse at first (I admit) but it’s important that when you initially plant them you leave them with plenty of room to grow. As these planters have all been planted up I will be extending my water system from my raised beds to these wall troughs too so that I can make sure they remain well-watered.
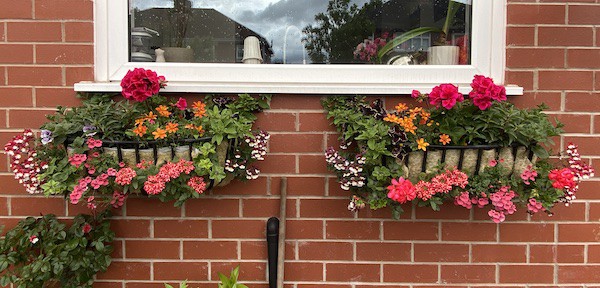
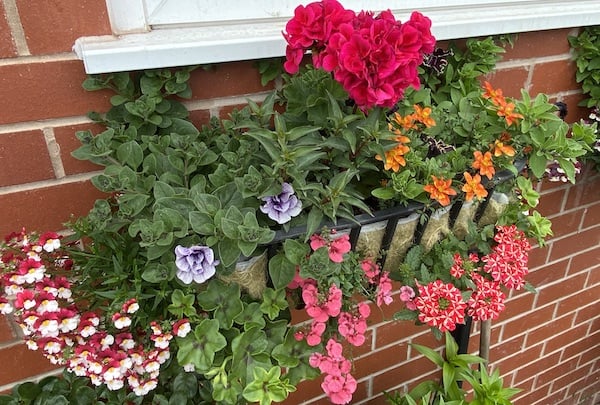
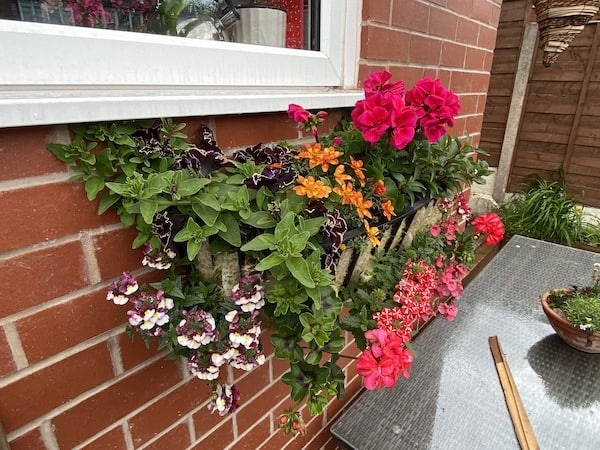
From the photograph below you can see what my planters are looking like after only approximately 5 weeks, and these basket plants still have plenty of growing to do over summer. As you will have noticed I’ve still not quite had a chance to extend my watering system just yet, so we are currently watering on a daily basis using a watering can.
We’ve gone a little off topic, so back to how you can plant a wall-mounted trough starting with what you need.
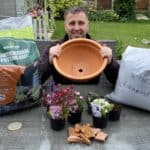
What you will need
- Your chosen windowboxes or troughs.
- Moss liner or real moss, if you have a trough with an open front like mine.
- Quality tub and basket compost (I also like to add more water retaining granules and slow release fertiliser to mine. This is optional but recommended).
- Your choice of basket plants.
Choosing which plants to include
This is very much a personal choice, we all like different plants but there are a few basic things to consider when choosing your plants. Firstly, basket plants are usually sold as either upright or trailing plants.
Ideally, you want to be planting a mixture of both of these. You want to be choosing upright basket plants to plant on the top and towards the back of the trough. I usually plant a large Pelargonium Geranium in the centre. And you want to plant some trailers around the edge so that they trail over the edges of the trough to fill out around the trough itself, creating a fuller look.
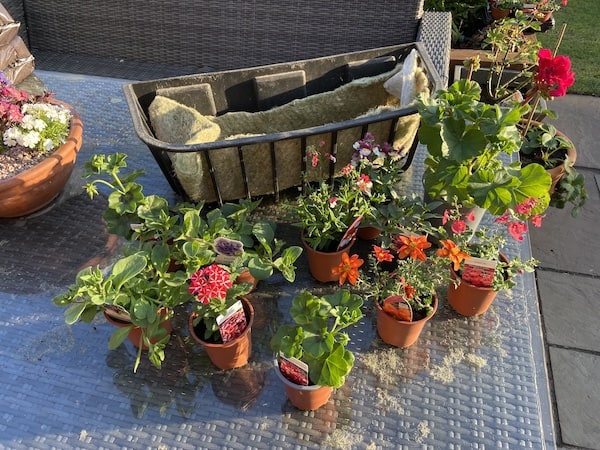
For my troughs, I decided to plant 9 basket plants that were in small 9cm (3.5 inches) pots and a single large Geranium for the centre. The basket plants I chose included Surfina, Verbena, Nemesia, trailing Geranium, Fuchsia and Bidens.
How to plant the wall trough
If you have an open-fronted trough or wall manger like myself, you will probably need to line the front with a basket liner or moss to hold the compost. Some wall mangers already come with liners too. You need to decide if you’re going to plant the front and top (like I do) or just the top. Personally I always plant the front and top as it looks amazing once the plants fully establish themselves, so this is what I will be doing in this guide.
Add some water retaining granules and slow release fertiliser to your compost
First, do yourself a favour and get some water retaining granules and slow release fertiliser and mix it with your compost at the recommended rate on the packaging. I like to use a good quality premium basket compost made by my local nursery. It already has slow release fertiliser and water retaining granules, however, I always like to add a little more.
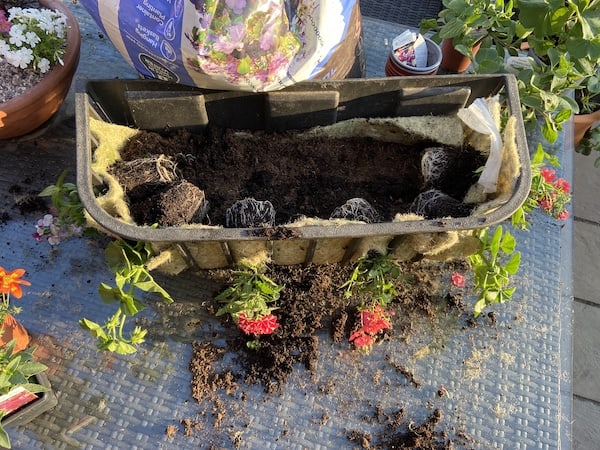
Once you have your liner in position, I usually fill the trough/manger with compost about halfway up and then cut small slits in the liner and carefully pass the basket foliage through, as shown in the picture above.

Once you have done this, you can fill the rest of the trough up with compost to just below the rim and then position the rest of the basket plants whilst still in their pots on the compost to decide how you want them positioned. I recommend doing it this way so that you can plant both your baskets symmetrically because sometimes it can be hard to remember which variety is placed where when the first trough is done and up on the wall.
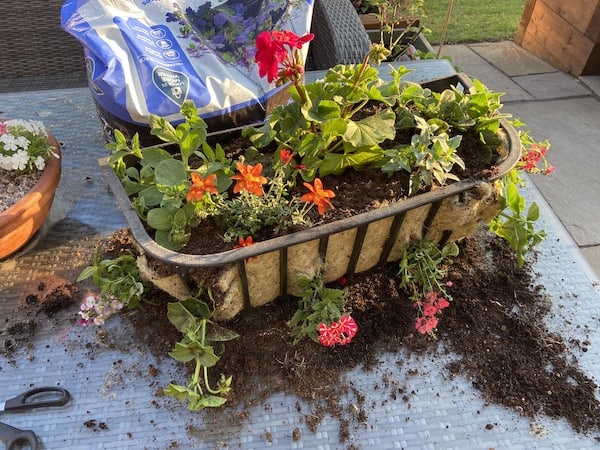
Finally, I then plant the rest of the basket plants as shown above and then hang them on the wall as shown below
This is that same wall trough only 5-6 weeks later, as you can see I’m really pleased with how well it is doing so far!
Happy planting!