If you have healthy perennials it’s important you divide them regularly, just to make sure they continue to perform as well the following year. This is something that is quite easy to do and it’s perfect for all clump-forming herbaceous perennials, even plants like ornamental grasses.
Most perennials will do much better if you divide them every 2 or 3 years. If you want to increase how many plants you have in your garden by way of division, of course, you can do this on an annual basis. Some plants that do well when divided include Agapanthus, Lily of the valley, Delphiniums, Geraniums, Day Lily, Iris, ornamental grasses, Salvia and more.
When to divide perennials
You can successfully divide your perennials almost any time of the year, as long as you keep them well watered after you have divided them. However, the most successful time of the year will be when your plant is not actively growing.
If you have a perennial that flowers in the summer, you should divide it between March and May or between September and November. Just make sure that the soil is dry enough so that you can easily work with it. If you are experiencing a particularly wet autumn, for example, wait until spring to divide. If you have a slightly tender or weak plant, spring is a better time anyway.
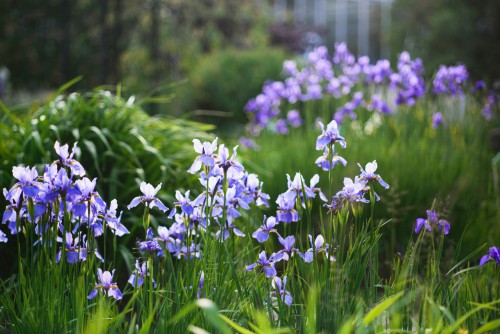
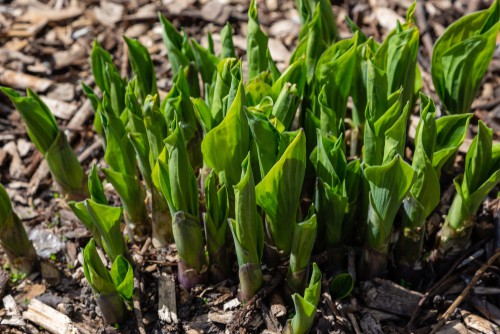
If you have a spring flowering plant like an Iris, it’s better to wait until June through August to divide the plant because this is when they have finished flowering but they are ready to produce new roots.
How to divide your perennials
Dividing perennials is quite a simple process. You start by gently lifting the plant from its home with a garden fork or trowel if they aren’t too large, working your way outwards from the centre of the crown and never digging right at the base because you will damage the roots. Once you’re able to pull the plant out, shake off any excess soil until you can see the roots quite well.
There are some plants that produce individual plantlets and you will be able to notice these when you pull them out. If the perennial you have is one of these, you can simply tease out the plantlet, separate it and replant it.
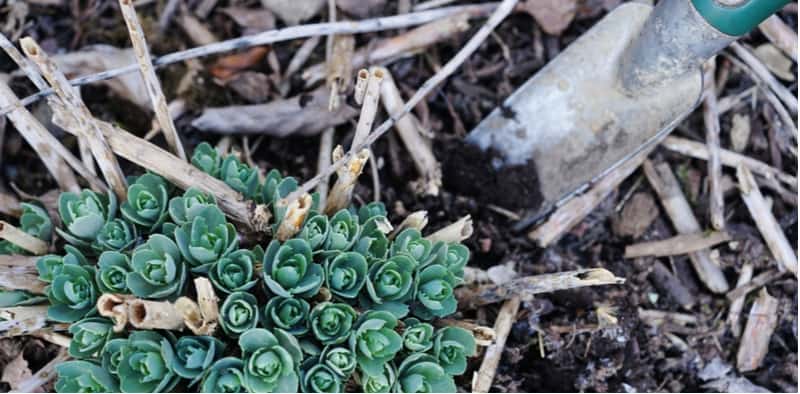
Smaller, fibrous-rooted plants like Hosta can be gently pulled apart once you lift them out of the ground. This will give you easily recognisable small clumps that you can replant.
If you have a fibrous root perennial that’s quite large in size, for example, the Day Lily you might need to use two garden forks that you use back-to-back in order to lift it out of the ground. Use them like you would a lever to loosen the dirt around the roots and then break the root mass into different sections.
You can break it up into two sections (or more) depending on how many divisions you want to propagate.
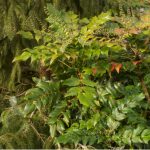
In certain cases, if your plant is too large you might need an axe or a sharp knife to cut your clump into two sections. If you have a woody crown like on the Helleborus or fleshy roots like those on the Delphinium you’re definitely going to need a knife or spade to cut the clump in two different shoots. When you do this, try to cut it into two divisions that contain several healthy shoots.
Caring for the divisions
Once you divide your perennials important that you replant them as soon as possible and that you water them well so that they can get adjusted to their new home. You can replant them in the same location just to increase the number of plants you have in a small area, or you can move them to a new part of the garden, alternatively, you can even put them in pots.
Exceptions to the rule
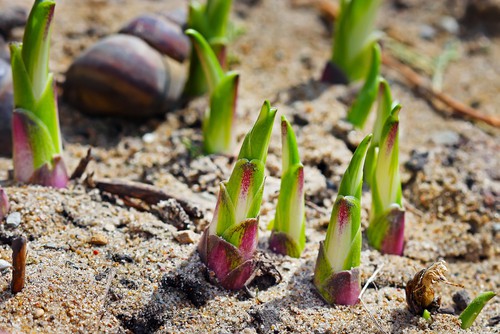
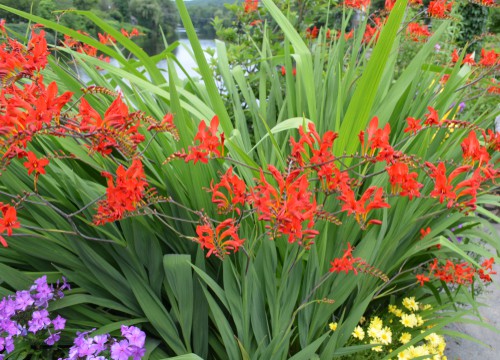
There are of course exceptions to the aforementioned rule. In some circumstances, you might need to use a slightly different technique. If you have a Diorama or a Crocosmia, these need to be removed without any causing any damage to the plant or roots, which means you have to dig at least 30cm down to avoid touching the corms, and then remove the plant. The roots come in what look like chains and these can be individually separated or replanted intact. Any of the corms you see that are old or diseased should be done removed.
Hostas are another exception to the rule. With these, you can follow the same steps listed above but you can split large clumps into two sections that contain five shoots. If you have a cultivar that has fleshy roots you want to tease them apart by hand before you divide them.
Potential problems
Make sure that you replant your divisions very quickly. If you leave them out they can dry out and then they won’t be able to re-establish themselves.