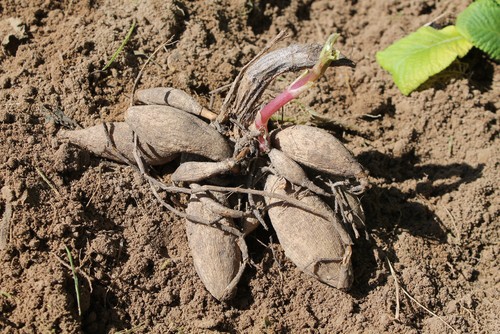
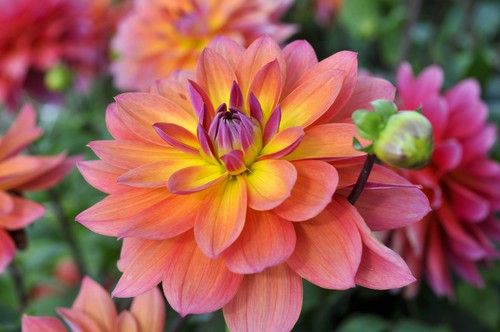
Dahlias are considered one of the most diverse species, offering flowers the size of dinner plates to tiny pom poms depending on what it is you want. Like most tubers, you can divide them to get additional Dahlias or remove tired mother Dahlias and grow younger ones with lots of potential.
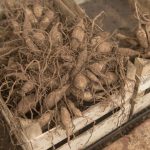
Dahlias are very easy to grow as long as they have well-drained soil and access to full sun. They do die off if they are exposed to frost which is why many gardeners choose to dig them up at the end of summer and overwinter them inside, or at the very least, mulch over them in milder areas. When this happens you can take advantage of the overwintering stage to split them, so that come spring, you can take all of the Dahlias and plant them.
The fastest way to get more plants is to simply divide existing Dahlia tubers. You can also separate your healthy tubers from any damaged or diseased tubers so that only the healthiest of plants produce flowers next season. The best part is that the tubers you grow currently will quickly become a multitude of plants next spring and summer.
When to Split and Divide Dahlias
Dahlias will die off if they are exposed to frost, so the ideal time to split and divide your tubers is during spring before you plant the tubers that you have overwintered. If you divide sooner, at the same time that you lift the tubers for overwintering, they might not be viable come spring, so it’s actually best to wait (until spring) to split your tubers. Additionally, if you wait you will be able to tell which tubers are growing the best and are the healthiest.
How to Split and Divide Dahlias
When you are ready to divide the Dahlia clumps you want to sanitise your gardening secateurs so that no diseases are accidentally passed. Remove any tubers that have mould, broken areas on them or have a skinny neck. Ideally, you want swollen eyes on the tubers because this is a very good sign. If you cannot yet tell where the eyes are, place your tubers in a moist, warm area and leave them there for about a week. Wait to see when the eyes begin to sprout so that you know which ones are healthy.
After that, cut them apart carefully. If you want to protect against fungal infections in the wound where you make your cut you can always dust the wound with Bordeaux mixture, however, it’s not a necessity because you should have ideally done this when you lifted them in autumn. As soon as they have been split you should plant the tubers immediately and then sit back, relax and enjoy your stunning floral display.