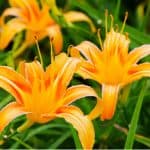
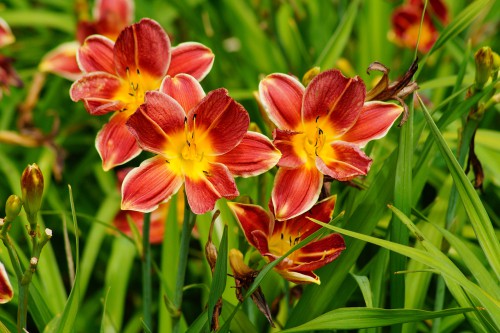
Daylilies are beautiful plants that get their name from the fact that they only produce flowers that last one day. However, they produce an abundance of flowers over the course of the summer months so you get a display of flowers on a daily basis somewhat regularly so the name can be a little misleading.
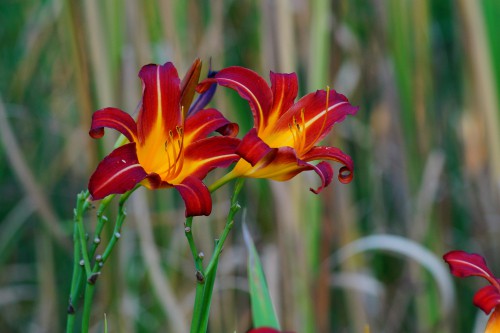
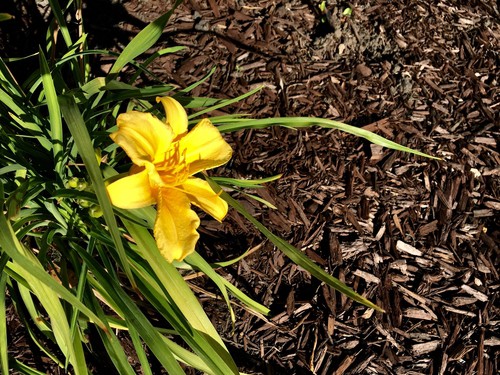
You can choose from a wide range of varieties, these come in a large selection of colours including burgundy red, orange, even yellow flowers and everything in between. The stems rise up out of the foliage and bring with them an array of delight no matter where you live. They grow well in most soils, including poorer clay soils and it is important to note that they dislike dry soils and positions that are prone to waterlogging.
They can reach heights up to an impressive 1.5 metres and a spread up around 1 metre, although if you don’t have enough space to accommodate them in your garden, you can get smaller varieties that are better suited for pots and containers.
Most daylilies prefer being planted in full sun, and are best planted in April or the end of September with flowering times that range from the end of May to around August.
Planting Daylilies (Hemerocallis)
Plant them in fertile well-drained soil
Daylilies do best when they are planted in fertile soil that is well-draining. However, they are cherished across the UK because of their ability to tolerate poorer soils, including heavy clay soil, as long as it does not become waterlogged. So if you have clay soil in your garden, it’s well-worth digging in plenty of organic matter and grit to improve drainage.
Don’t plant them in heavy shade or areas prone to drying out during the summer
Realistically you only want to avoid planting them in heavy shade or an area that’s going to dry out over the summer.
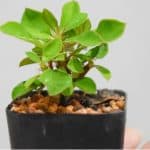
Growing them in pots and containers
You can grow them successfully in containers if you have a problem with your soil structure or with moisture retention. You may just simply prefer to grow them in pots so you can enjoy them on your patio, and this can help get the abundance of flowers that you want.
In some circumstances, where they are becoming overcrowded, you might end up dividing an existing plant from your garden and putting it in a container or dividing a congested plant in a pot. For further potting on (and initially planting them in a pot) we recommend using compost with good water retention, so something like John Innes potting compost is perfect.
Planting bare root plants you have purchased from garden centres and nurseries
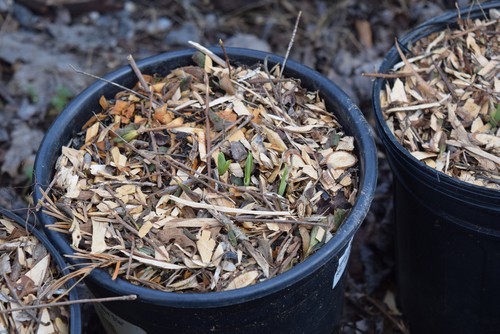
You can purchase bare-root Daylilies from your local garden centre or nursery. When doing so, we highly recommend that you check the packets to make sure that the roots are firm and you can see small shoots coming out. If you see any bare-root Daylilies with long, pale shoots, you don’t want these.
If you decide to buy bare-root plants rather than the potted alternative, you want to put them in a pot first instead of directly in the ground like you would pot grown plants using soil-based compost, as explained above.
You should keep those pots in a cold frame or a cold greenhouse if you have one until they are strong enough to be planted outside. Something you should schedule in the spring or the autumn once they have established themselves in the pots.
Hemerocallis Care
Feeding
Daylilies are pretty easy to care for if they are given the right conditions to grow. Of course, you might experience problems where your Daylilies aren’t producing the flowers that you want, and in these cases, you can add a multi-purpose fertiliser at an average of 60g per square metre, or follow the instructions as stated on the packet.
Mulch around the base of plants to help retain moisture
You can also lay some mulch around your established plants at the beginning of spring to help conserve moisture, this will also help suppress weeds. Things like manure or garden compost work very well for this, as well as bark which works better for preventing weeds.
Prune to help reduce the risk of Hemerocallis gall midge
Daylilies don’t need a lot of pruning, or any type of training or support. However, we do recommend deadheading after flowering to improve the overall look of the plant and to help reduce the risk of Hemerocallis gall midge infestations, beyond that you don’t have to do anything.
Problems
Hemerocallis gall midge, slugs and aphids
There are no significant diseases that Daylilies have to contend with, but one of the biggest pests that you will need to tackle is the Hemerocallis gall midge. The larvae develop inside of your flower buds and then the flowers fail to open or get distorted. Other common pests you might have a problem with include slugs, snails, or aphids and these can be controlled with slug traps and pesticides for aphids, or good old soap and water.
Propagating by Division
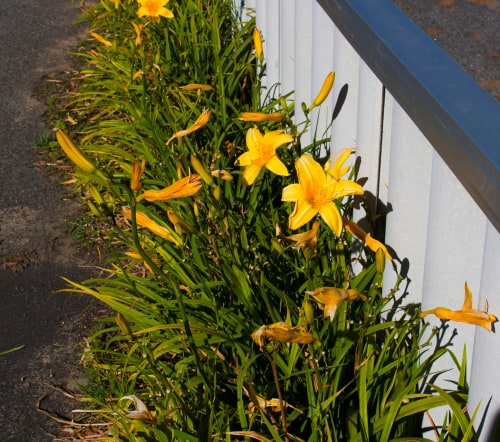
If you have a successful Daylily you can divide the larger clumps in the spring or autumn and then replant them elsewhere in your garden or pot them up into containers. This is a great thing to do every few years anyway because an overcrowded Daylily that naturally expands every season will not have enough nutrients in a given space to produce as many flowers.
You can ensure you get the same flush of flowers if you divide and transplant from a bigger plant on a regular basis. Simply lift your mature plants from their spot and divide them into sections approximately 6-8 inches wide. Replant giving them plenty of room to grow, ideally at least 1ft between sections if you are planting them in clumps.