If you have a clematis and you would like to take cutting so that you can use them to root and grow new vines, there’s a simple propagation method that you can use which is somewhat successful and worth trying.
In a nutshell, you take a section of the clematis branch in spring or summer from the current year’s growth and split it into smaller sections removing the side shoots. You then dip the 2-3″ cutting in rooter powder and insert them into smaller pots filled with a mixture of 50% compost and 50% grit sand for improved drainage. Cover with a plastic bag keeping the bag raised with a cane or sticks so it does not touch the cutting. They should take around 3-4 weeks to begin rooting and will be ready to plant the following season. Below we go over this process in more detail.
How to propagate clematis from cuttings
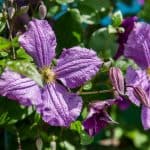
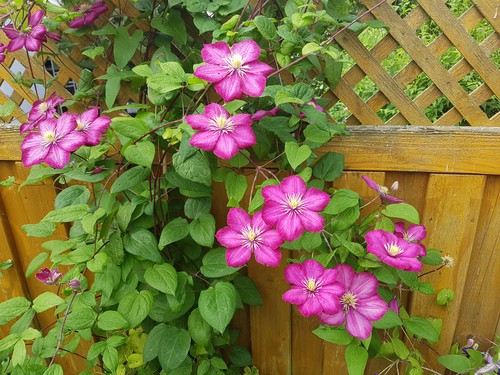
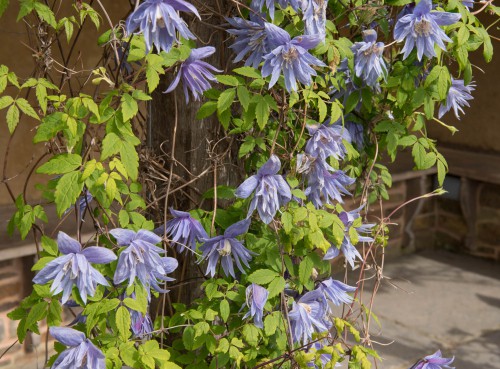
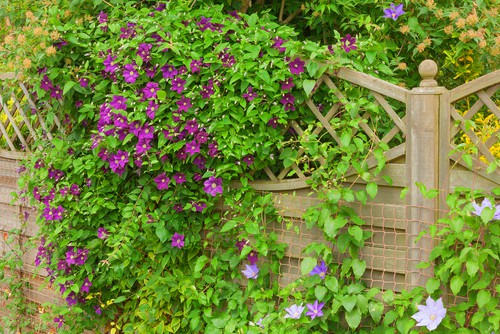
These are beautiful, flowering climbers and no doubt after you have one, you will want more. There are several methods you can utilise to propagate your clematis.
The first is to germinate from seed. While this is possible for species clematis, it’s not typically something that homeowners do because it is incredibly slow. This process can take up to three years to properly germinate and most people don’t want to dedicate 3 years of their lives to germinate a single plant when there are easier and faster methods available.
The second is to utilise a mature plant that you already have, divide it in two and transplant it so that you have multiple plants. This is obviously the best option for those who have large, mature plants and are looking to add some more. However, this is still risky and you can kill the main plant if you aren’t careful.
For those who don’t already have large, mature plants that have been there for years or simply don’t want to take the risk, there are a few other techniques available, one of which is called layering. This is a method you can use whereby you take the stem of a living vine that you already have in your garden and you pin it down to the ground. You keep it pinned in place until that stem starts to establish its own roots. This is quite effective if you already have a clematis in place and you want to grow more nearby because if you pin down one of the stems nearby it will root exactly where you want it to be. But not everyone is so lucky.
Alternatively, you can choose to grow a new plant from cuttings and this method is quick and easy. Growing from cuttings is the best way to improve the number of plants you have and you can get several plants from a single stem.
Taking Clematis Cuttings
When you take a cutting, you need to pick the right time of year. Knowing when to take clematis cuttings is imperative to your success. You can grow them from a stem that you cut any time between the end of spring and the end of summer. The cuttings that you take are going to be known by different names based on the maturity of that stem.
- If you take a cutting in spring the stem is referred to as soft wood.
- If you take a cutting in summer it is referred to as semi-ripe wood.
- If you take a cutting in late summer it is referred to as ripe wood.
- If you take a cutting an autumn it is referred to as hard wood.
You will likely have the best success rates with cuttings that you take at the end of spring or the beginning of summer because there is still humidity, warmth and light outside to help nurture the cutting as it begins to root. The younger, softwood cuttings are tender and the later hardwood cuttings are stronger they just take longer to root. There is no right or wrong here, you just have to contend with different elements for each.
Propagating your Clematis Cuttings
Propagation methods do not guarantee 100% success so you might take 10 or 12 pieces and from them only get three cuttings that you can end up planting. This is perfectly normal and you should not be dismayed.
If you are going to cut soft wood at the end of spring or the beginning of summer, choose an established vine that is at least 2 years old from which to take your cuttings. Look for stems that are a few weeks old and have started to thicken. These won’t be as strong and woody but they’ll be tough. Also, avoid choosing any stems with buds or flowers on them.
Once you have the pieces make sure that you prepare them immediately. Take pots and fill them with potting mixture mixed with 50% grit sand and water so that they are set in an even fashion. Place them on a drip tray so that the water can drain and dip each of the cuttings into rooting hormone to help them get established before you place them into the pot and potting mix. Once they are placed inside the pot you need to cover them with clear plastic bags making sure that you set them up so that the plastic doesn’t actually touch the cutting. You might need things like chopsticks or pencils to hold it up. The idea here is to create tiny little greenhouses.
Once that is done it’s time to water once more and keep the cuttings completely covered to maintain moisture and warm but still allow air circulation. It should take about four weeks to see new roots forming at which point you can start to place your new plants into individual pots and eventually transplant them to your garden.