Last updated on January 25th, 2022
Our site is reader supported, this means we may earn a small commission from Amazon and other affiliates when you buy through links on our site.
Pruning Camellias
Many gardeners think that Camellias are difficult plants to grow but this could not be further from the truth. In fact, they will grow in most areas, except for places where the soil is chalky or limestone as this creates alkaline soil and Camellia plants need acidic soil. However, they can be successfully grown in pots using ericaceous compost.
They are available in many colours and there are hundreds of varieties to choose from. They will reward you with a splash of colour from Autumn to late spring when little else is in bloom. Pruning is not essential like some shrubs, but they can benefit from light pruning to encourage more flowers and help prevent diseases.

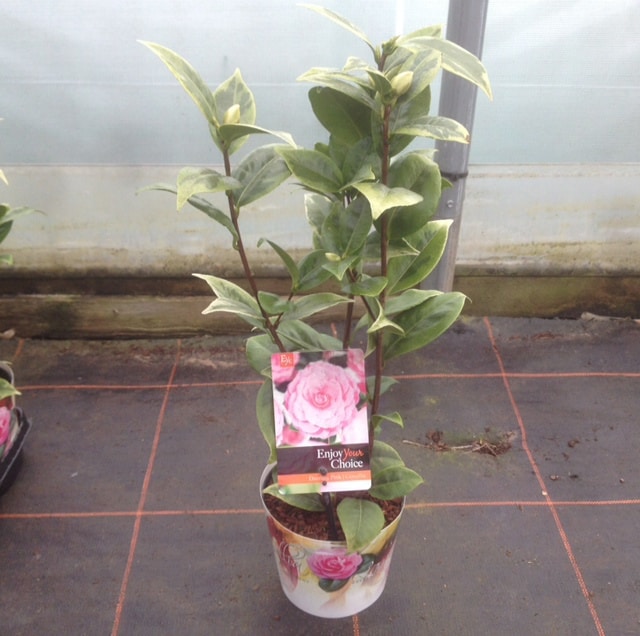
Camellia ‘Curly Lady’
When to prune Camellias
Camellias are very forgiving plants and unlike most other evergreen shrubs they can be pruned back very hard if needed to rejuvenate an old tree and will nearly always come back with an abundance of new growth. Typically they do not need much pruning and can be left unpruned without any problems although a light prune can help encourage new growth.
Quick Tip! Always prune straight after flowering has finished in spring. Pruning late may remove next year’s flower buds.
Camellia’s flower on the previous years’ growth and the buds (which are formed in late summer and autumn) will produce the amazing flowers that appear in autumn to spring.
Pruning is best done straight after flowering in spring before the new growth that will produce the flower buds are produced. By pruning them after flowering you are ensuring you do not remove any of the growth that will produce next year’s flowers.
How to prune Camellias
Pruning is usually done to either retain the shape of the plant and keep it to a certain size, to help reduce diseases or to rejuvenate an older plant that has gotten a little out of control and does not look as lush and full as it once did.
We recommend pruning lightly, even if you are not restricted by the size you can let the plant grow to. Lightly prune a couple of inches of the ends of the branches as soon as they have finished flowering. Also remove any weak, diseased or damaged stems at the same time.
If you want to keep your Camellia to a certain size or framework, prune it back to around 2-3 inches shorter than your desired size after flowering.
Pot grown Camellias
Pruning to help reduce diseases
Camellias can be pruned after flowering to help improve the airflow around the plants. Once flowering has finished, remove any weak, thin or diseased stems to help sunlight reach the centre of the plant, so the air can circulate better. This has proven to help reduce diseases such as mildew, as well as encourage new growth and promote more flowers.
Hard Pruning Camellias
Camellias, unlike a lot of other shrubs, are very forgiving and will recover when pruned back very hard. Even large shrubs can be pruned back to a couple of feet (60cm) and new growth will shoot from old wood. They are best pruned back hard in spring when the threat of hard frost has passed and they will have all summer to grow and rejuvenate and should even flower the following year.
If needed, Camellias can be pruned back at any time of year and it won’t do them any real harm but remember you may be forfeiting next year’s flowers if pruned at the wrong time of year.
Preventing non-flowering and dropped buds
Camellias are easy to grow but a common problem we get asked about is either that they haven’t flowered at all or that they have dropped their buds before they have even flowered. Occasionally when they have done well and produced lots of buds, they may have actually produced too many buds and can start to drop some of their buds. Please note this is perfectly normal and as long as they are not dropping an excessive amount of buds it is nothing to worry about.
With good correct care, they should flower without any problems, as long as you follow our simple steps below.
- They need to be planted in acidic soil or ericaceous compost if they are being grown in pots and planters.
- They prefer to be in a position with light to medium shade.
- If they are planted in a frost pocket where they get morning sun this can cause them to drop their buds.
- In dry summers when the buds are forming water freely.
- In late autumn to spring, add a 4 inch layer of mulch or bark to the base of plants to help them retain moisture around the roots.
- Do not feed after July as feeding when buds are forming can cause them to drop their buds because they put on new growth due to the feed.
- There are some more tender varieties that will drop there buds when the temperature drops too much. Fleece over or bring into a covered cold area such as a greenhouse if in pots. It is usually a good idea to grow tender cultivars in pots.
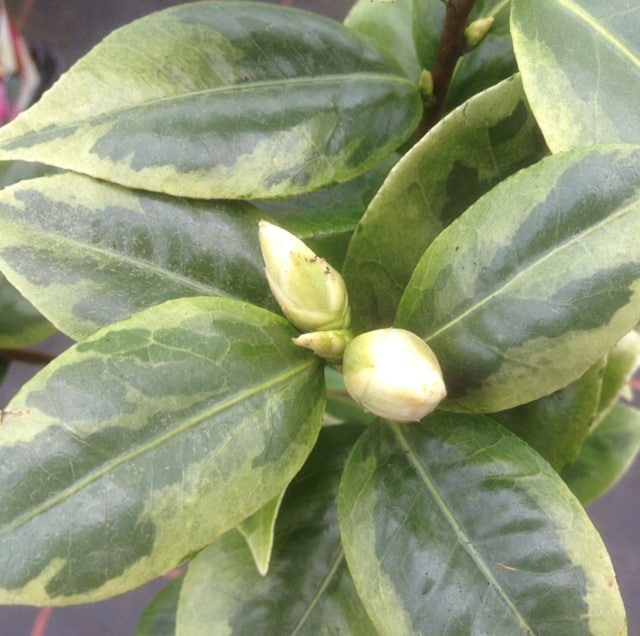
Variegated Camellia forming buds
Ideal Growing conditions
Camellias are naturally woodland plants and thrive in light to mid-shade areas in acidic, well-drained soil with plenty of mulch and organic matter mixed into the soil. They will grow in full sun but watering is a must in summer to help them form their buds for the following season’s flowers.
Feeding
Feed them in spring during flowering with an ericaceous feed which is available in liquid form. You can also feed with fish, blood and bone fertiliser. Stop feeding around June as overfeeding can encourage plants to put on new soft growth rather than producing the buds.
Taking cuttings to grow more plants
Camellias are best propagated by taking semi-hardwood cutting as growing them from seed does not usually produce the same variety. Take semi-hardwood cuttings in summer and hardwood cuttings in the late autumn to late winter.
If you want to learn how to take cuttings have a read of our guide here.